Continued Professional Development is a learning activity designed to develop and improve your professional practice. CPD is an inevitable part of being a provider of the Mountain Training awards and being an AMI member.
I use the word inevitable to describe CPD as sometimes it can feel like a box ticking exercise, sometimes you learn new skills and sometimes it gives structure and meaning to thoughts you already know, but struggle to put shape on them.
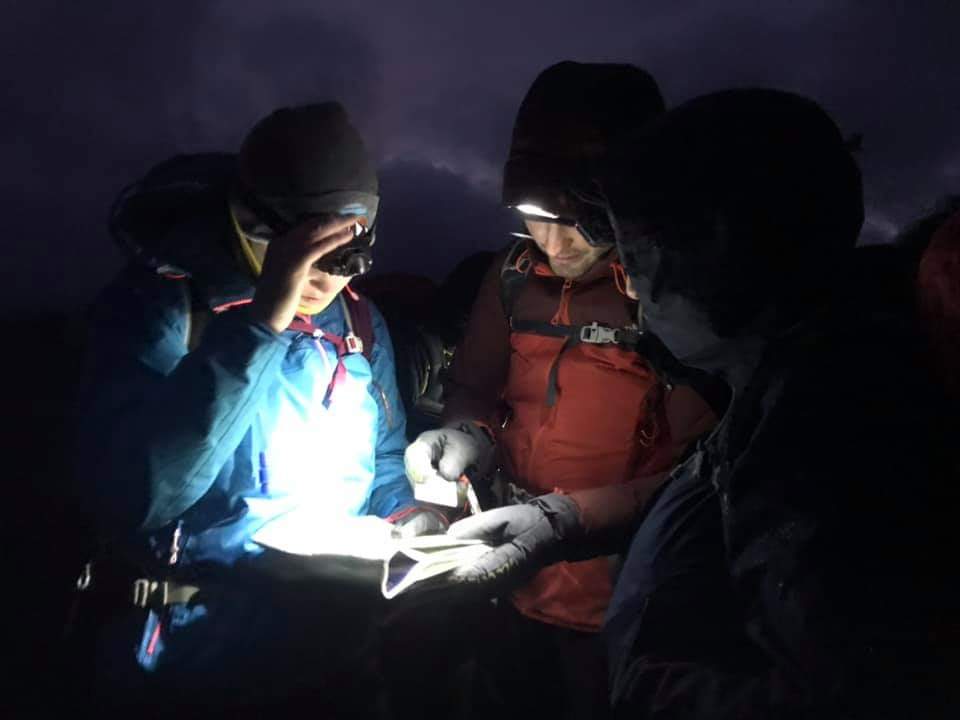
This week I attended probably one of the strongest CPD courses I’ve ever been on. The subject was leadership or more specifically Understanding Leadership Style, hosted by Dr Samantha McElligot. It was only 1.5 hours, which might initially seem short for such a far-reaching topic, but it packed a lot into a short space of time and as such kept me engaged throughout.
If you get a chance to enrol on this course or do a similar course with Samantha Id highly recommend it.
This blog is designed with the trainee or qualified leader in mind. Its perhaps a way of learning or measuring how we can improve our leadership abilities. Its not a point-by-point reflection of every element of the course, but instead a summary of what I took away from the course and points that I found useful.
Maybe I’ve even misinterpreted some of the points, but that’s fine too, as ultimately its challenged me to reflect on leadership styles, ethos’s and values and that’s great for my development.
Why Was The Course So Good?
The course was excellent for a number of reasons:
- It confirmed to me that while it’s hard to lead safely without technical skills, soft skills are always at the heart of good leadership.
- It gave me systems to try “measure” leadership, often an intangible.
- Samantha’s emotional intelligence was excellent and a good role model for how leadership can be.
- It allowed me to formalise ideas that have been in my head but perhaps I’ve been unable to put into a system.
Opening Exercise
Samantha had us start by breaking into smaller groups and writing down two lists. One was barriers that might exist to good leadership and the other was examples of good leadership.
This is something I do myself with clients on ML and LLA training courses and I always do it to make people realise that being a good Leader is essentially being a good human, backed up with technical skills to give us confidence.
I thought that as I was in a room of peers and experienced trainers, that perhaps we would come up with more salient points and deeper insight. But we didn’t, it was the exact same result as if the task had been completed by novice leaders.
Having good soft skills and strong emotional intelligence, backed up by technical competence, makes you a great leader.
I’ve picked a handful of the points raised during this exercise and listed them below, perhaps they might be useful for reflecting on:
- Leading by example shows our clients what the gold standard is.
- Be decisive and don’t be afraid to be authoritative, when appropriate.
- Poor preparation and a lack of knowledge of the environment or local area we are working in doesn’t give your clients as much added value as they could have had.
- A lack of an adaptable leadership style or a lack of willingness to be adaptable could lead to confrontation or lack of engagement with clients.
- An inclusive leadership style, where every single person in the group feels like they are heard is one of foundations to gold standard.
You may have read the above and thought, yep, that all seems common sense and I do those things quite well most of the time. But maybe as an exercise for yourself, re-read each of them and remind yourself of occasions when you didn’t do these well and how you could have managed those scenarios differently.
Am I Good Enough?
The concepts of self-doubt and imposter syndrome were discussed next. That as leaders and Instructors who are committed to constant improvement, we probably ask ourselves all the time if we are good enough?
Self-esteem is measuring what you are worth as a human being. Low self esteem could be described as low confidence and as leaders we sometimes suffer from a lack of confidence with a group, for all number of reasons. This is a natural human trait, especially if we are taken outside of our comfort zone.
Our default in such scenarios can be to play it safe and have one style of leadership or focus for the day. While this may be effective, it probably does little to engage with each individual in the group or for the team dynamic.
The John Adair Leadership model focuses on three core areas: achieve the common task, develop and meet the needs of the team, develop and meet the needs of the individual. If all elements are met, the team becomes effective.
Perhaps when we are feeling imposter syndrome or a lack of confidence, we focus on achieving the common task, but less so on the needs of the individual or the team. Faced with being outside of our comfort zone, we resort to basic levels of safety/team management instead of the holistic needs of the day/group.
Samantha used a very simple but effective slide to illustrate this point. And it went something like this:

Maybe it takes hearing it from another person to accept it, but I took from this that we should go a bit easier on ourselves. More or less, we are all doing our best to do our best. Even though we are chasing perfection, we are unlikely to ever achieve perfection.
We should allow ourselves permission to praise the good job we are doing and that once safety is our ultimate priority and we are consciously trying to get better at our soft skills, then that’s what counts.
Measure what we can measure but leave the rest.
But How Can We Measure Our Leadership?
I’ve often thought that its hard to measure whether I’ve done a good job as a leader, but maybe that’s not being honest enough with myself. I’m slow to acknowledge when I’ve done a good job and quick to remember times when I’ve done a bad job.
Perhaps I’ve focused too much on whether I’ve done a good job instead of focusing on whether the clients have had a good time, developed themselves in the outdoors and achieved their goal?
Samantha challenged us to think about our behaviour as leaders vs our style of leadership?
Behaviour is what we do and style is the manner of how we do it. Perhaps one way of measuring if we have done a good job as a leader is to consider the legacy effect of what we have done. A google search gives me a good definition: Legacy leavers operate in ways that build trust and transforms lives.
But again, let’s not be too hard on ourselves here or overthink our role, ultimately, a good ethos to adhere to is: if the clients are safe and happy, then I should be happy and this can lead to confidence in our role.
The INSPIRE Model And Our Leadership Values
As an exercise on outdoor Leadership training courses, I often ask trainees to think about what their values as a Leader are.
I think it’s important as to the Why? Why do you want to become a Leader? What sort of values do they want to display as a leader? Do you want to influence your clients to adopt the same values in the outdoors?
I don’t ask them to discuss it as a group. It’s a personal thing to people and as such it’s an exercise in self-reflection.
The topic of Leadership Values was discussed as part of the CPD and interestingly Samantha proposed that the INSPIRE model of leadership, developed by Mountain Training for the Leadership awards was a way of measuring and advocating your values to your clients.
The model is an acronym and goes as follows:
Inspire and motivate your followers with a unified vision
Nurture an environment of team-focused goals
Set the example you want to see in your followers
Praise, and give constructive feedback to help your followers develop
Insist on setting high standards, relative to each individual
Recognise and respond to each individual’s needs
Encourage followers to create and implement their own solutions
INSPIRE should be something that MTA trainee leaders are familiar with, but if you’re not then a click on the link below to learn more: https://www.mountain-training.org/help/resources/mountain-trainings-leadership-model
Other Points?
The course continued to look at a number of other really good points and topics, all of which I thought were really well developed and thought provoking, but, at the risk of plagiarism and trying to replicate Samanthas course, I think its best that I leave my summary there.
I think there is a lot to digest even in what is above and hopefully this blog does a good job of encouraging you to reflect on the topics. I can’t recommend enough that you would do the course or a similar course.
While taking notes from the course I noticed I had previously written some leadership quotes in the same notebook. It seems apt to list a few of them below, as I often feel a short quote can be a powerful tool to make us think. Make of them what you will.
“People may remember what you tell them, and they may remember what you teach them, but they will never forget how you make them feel”.
“We don’t lead by talking to people, we lead by listening to them”.
“Nothing is stronger than gentleness”.
“Leadership is an act of controlled improvisation”.
“Deal with the unexpected gracefully”.
“To be fulfilled, help others to succeed”.

![]()